Initial configuration
Complete first-time setup—core preferences, licensing, users, and your first project—then validate the installation with a test run.
Overview
Once Shift-Left API is installed (Cloud or self-hosted), a quick initial setup ensures your environment is ready for smooth test creation, execution, and collaboration.
If you haven’t installed yet, start with Getting started.
Step 1: Launch Studio
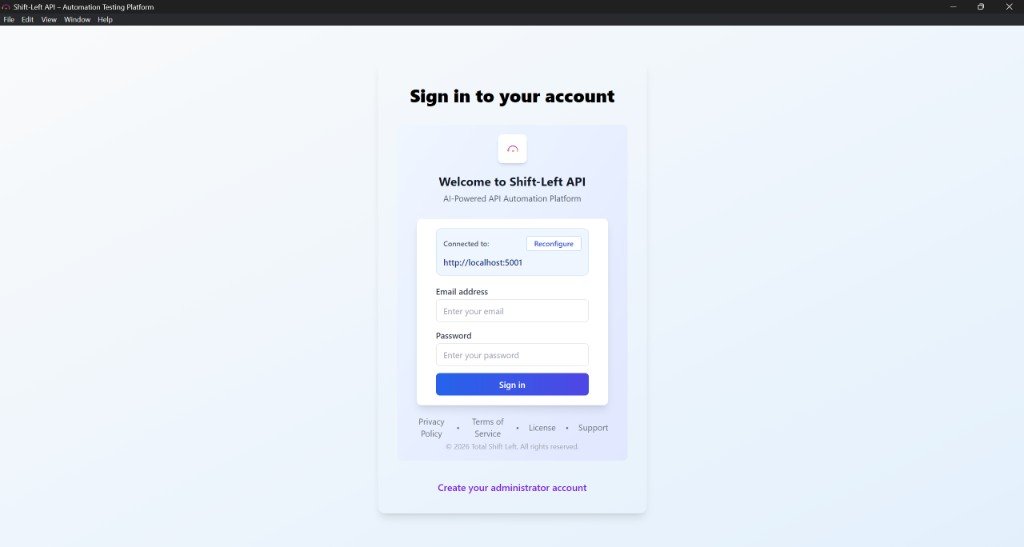
Launch Shift-Left Studio from the Desktop shortcut (Shift-Left Studio) or from the Start Menu.
First Launch & Account Setup
On first launch, you will need to create an administrator account. The first screen will prompt you to create your administrator account. Click Create your administrator account.
Once you click Create your administrator account, the form opens as below:
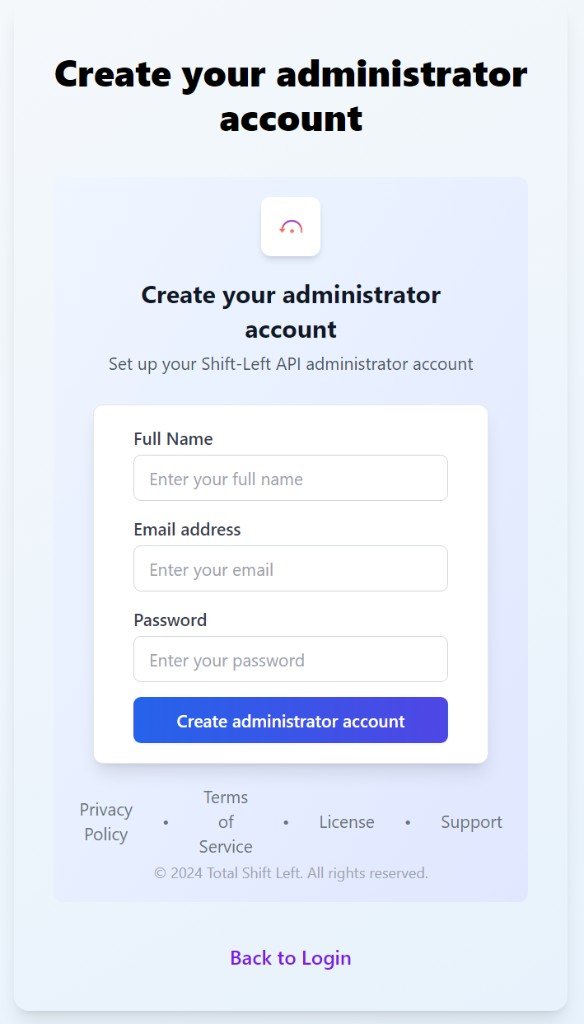
Fill in your full name, email address, and choose a password for the administrator account. After entering your details, click the Create Administrator Account button.
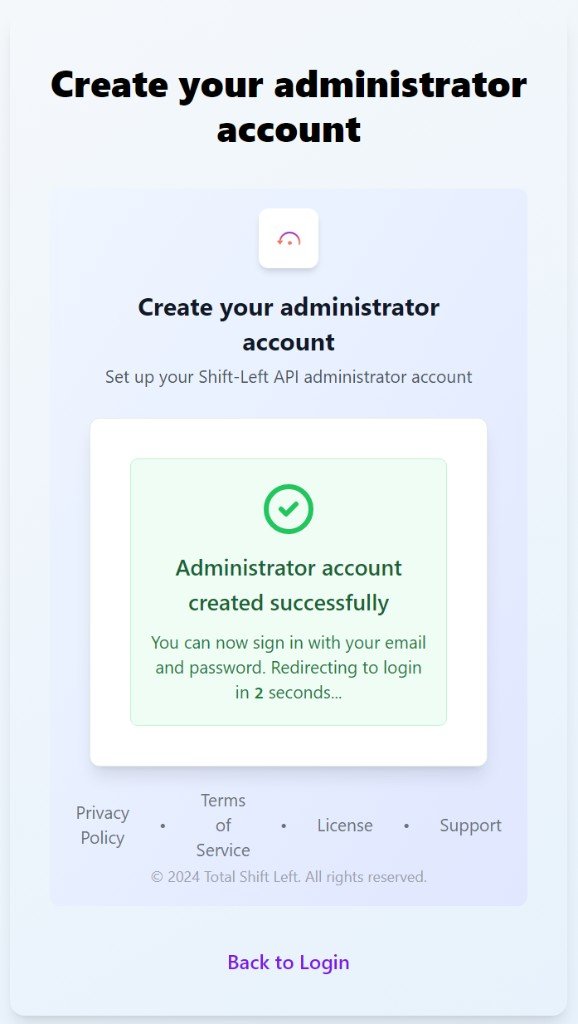
Congratulations — you've successfully created your administrator account. You'll see a success screen like the one below. You'll be redirected to the login screen automatically in a few seconds, or you can click Back to Login to sign in right away.
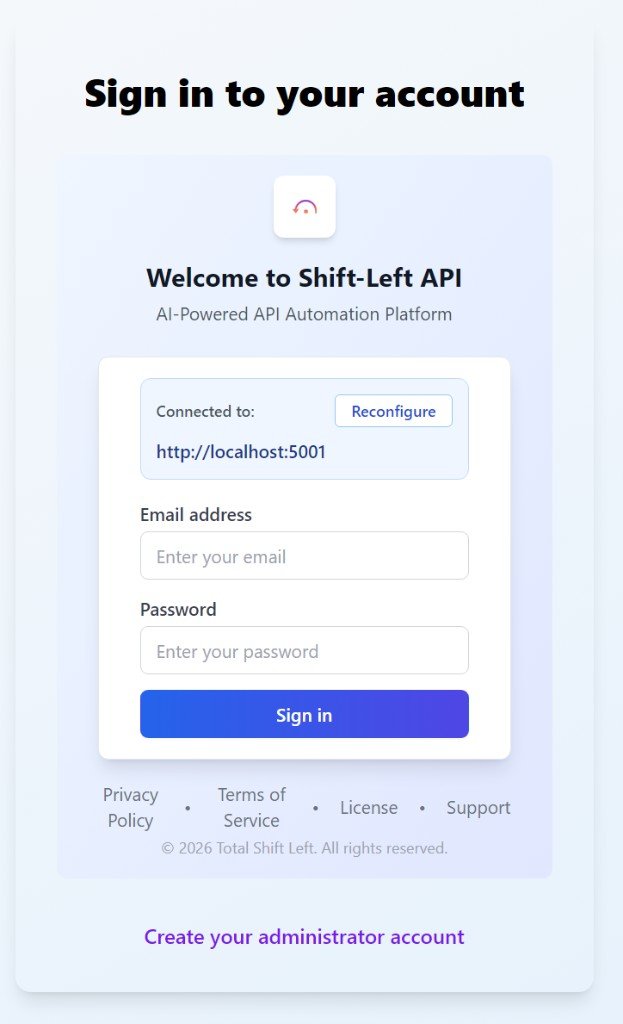
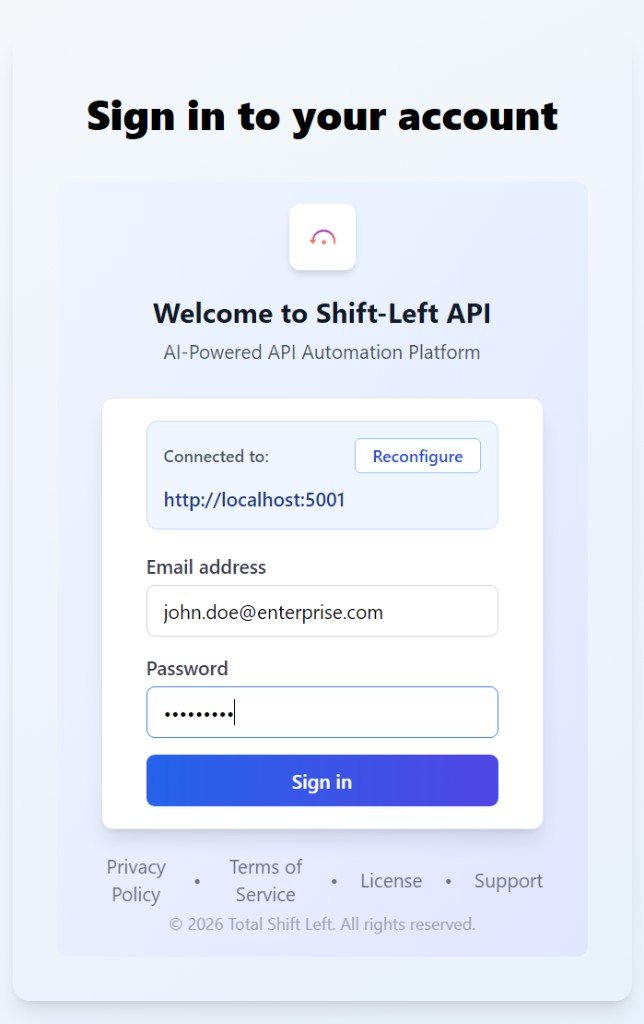
Step 2: Logging In
On the login page, enter the email address and password you used to create the administrator account. Click Sign in to log in.
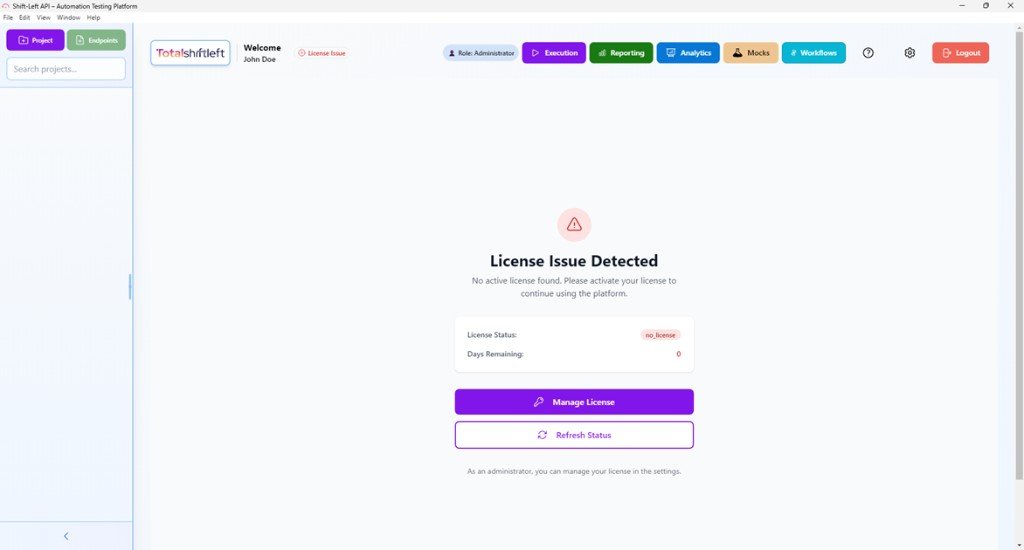
Step 3: Activate your license
Once you log in, you'll see the License Issue Detected screen. Click Manage License and enter the license key you received via email when you signed up. You can also reach out to your Customer Success Manager or contact Support at support@totalshiftleft.com.
Related platform documentation: License Management.
Step 4: Add users
Invite your team members so work can happen in parallel:
- Go to User Management → Add New User
- Assign roles (for example Admin, Tester, Viewer) based on responsibilities
- Restrict access by project/workspace where appropriate
Related platform documentation: User Management, Role Permissions, and User Policies.
Step 5: Add your first project
Create a project that represents an API you want to test:
- Click New Project and provide a name + short description
- Define the API base URL for the target environment (Dev/QA/Staging/Prod)
- Choose an authentication approach (API key, OAuth/Bearer token, etc.)
- Add endpoints manually or import via OpenAPI/Swagger
If you’re setting up multiple environments, keep them separate (dev vs staging vs prod) so failures are easier to interpret.
Related platform documentation: Project, Managing projects.
Quick tip: set up RBAC early
For larger teams or multi-project environments, configure role-based access control early so permissions stay clear and auditable as the workspace grows.
What to read next
- Project (how projects are organized)
- Endpoint management (import vs manual)
- Test run (execution and outcomes)
Related articles
- Configuration fundamentals · Configuration
Next steps
- Getting started · First success path
- Debug logging · Troubleshoot setup
- License management · Activate and validate
- Role permissions · RBAC
Still stuck?
Tell us what you’re trying to accomplish and we’ll point you to the right setup—installation, auth, or CI/CD wiring.